French Toast Sticks
This post may contain affiliate links.
Taking the family camping? Need a kid-friendly breakfast idea? These quick and easy French Toast Sticks are a great way to get the kids fed on the fly.
If you have active kids, you know breakfast time can be a dynamic eating experience. Especially when you’re out camping with a lot of new stimulation, getting everyone to sit down patiently at the table for breakfast just might not be a fight worth having. So instead of serving something that needs to be eaten on a plate or bowl, why not turn to breakfast finger food?
What we love about French Toast Sticks
↠ They’re fast! You can get the first round out in under 20 minutes.
↠ They can be enjoyed sitting down or on the go
↠ Fewer dishes to clean up
↠ Easily scaled up for larger groups
↠ They’re super easy. You’re basically just making mini french toast.
So if you’re stumped on what to serve your kids for breakfast while camping, give these quick and easy French Toast Sticks a try!
How to make french toast sticks & step by step video
Making french toast sticks is easy! Watch this (60 second) video to see how it’s done.
Start out by mixing your french toast batter. Really go to town when scrambling those eggs. You want those yolks and whites to be completely integrated before adding the milk, so you get a smooth and consistent batter. Add the milk and spices and stir to combine. Prep Ahead: This step can be done at home ahead of time; store in a sealable container in your cooler until ready to use.
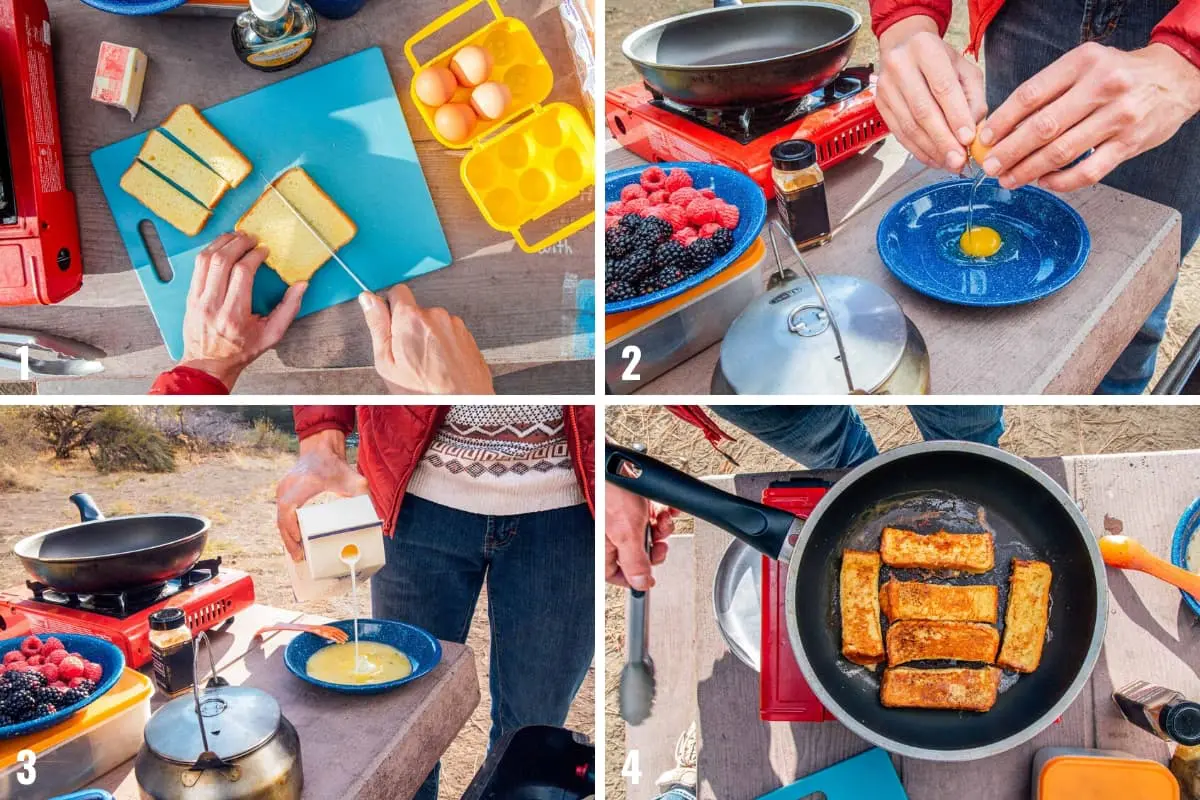
Once the batter is ready, it’s time to start prepping the bread. We suggest using really thick sliced bread, like Texas Toast, or getting a whole loaf and slicing it yourself. The thicker the bread the better. Slightly stale bread is also a plus here as it will hold its shape better after getting dunked in the batter.
Heat a skillet over your camp stove and melt a little butter to coat the bottom. Then begin dunking your breadsticks into your batter and placing them on the skillet. Once one side starts to brown rotate them onto their side and continue until all sides are browned.
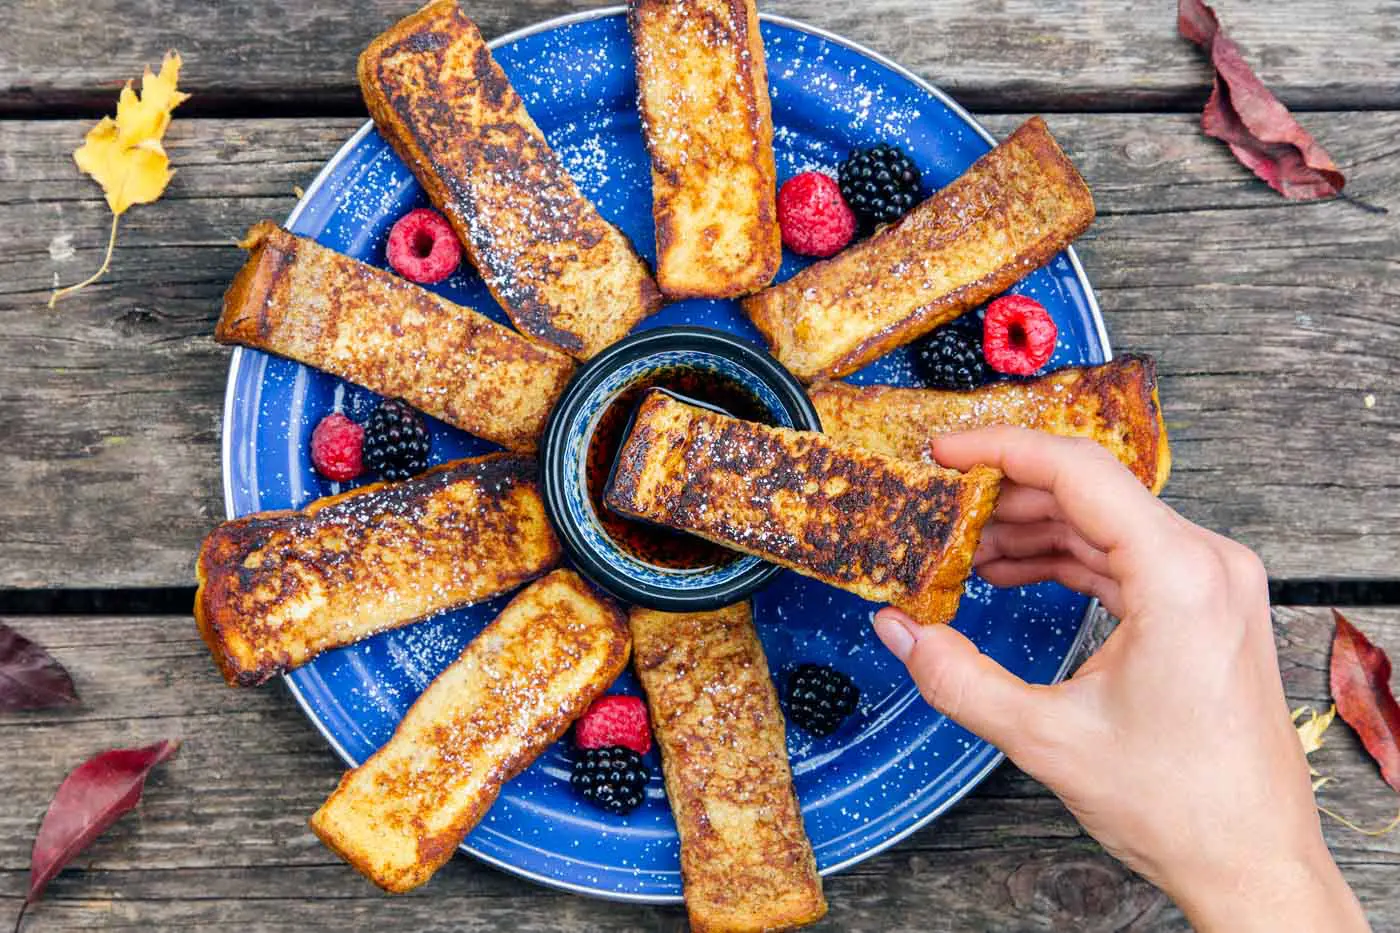
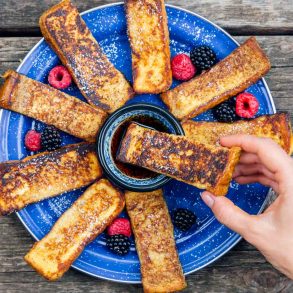
Serve with some fresh fruit and a small ramekin of maple syrup for dipping.
Essential equipment
There’s no “special” equipment you’ll need to make this recipe, but having a good camp stove and a non-stick skillet (or well-seasoned cast iron) will generally make your camp cooking experience easier! Here are our recommendations:
↠ Camp Stove: A quality camp stove with powerful burners will help heat your skillet evenly and gives you better control over the cooking temperature. We love our Camp Chef stove for this reason!
↠ Non-stick Skillet: Using a non-stick skillet will make flipping the french toast sticks easy. You can also use a well-seasoned cast-iron skillet or griddle, but when in doubt, non-stick won’t let you down. This GSI skillet fits great in our camp kitchen box because of its folding handle design.
More easy breakfast ideas you’ll enjoy
↠ Perfect French Toast
↠ Banana Bread Pancakes
↠ Coconut Banana French Toast
↠ Cinnamon Apple Pancakes
French Toast Sticks
Equipment
Ingredients
- 4 slices Texas toast, or other, thick-cut bread
- 2 eggs
- ½ cup milk
- 1 tablespoon sugar
- 1 teaspoon cinnamon
- Pinch of salt
- 2 tablespoons butter
- Berries & maple syrup for serving
Instructions
- Cut the bread into 1 ½ inch sticks.
- In a shallow bowl or container, beat 2 eggs until thoroughly combined. Add the milk, sugar, cinnamon, and a pinch of salt. Mix to combine.
- In a nonstick pan over medium heat, warm a tablespoon of butter.
- Dip the toast into the egg/milk mixture, letting the toast absorb the liquid for a few seconds, then flipping and soaking the other side for a few seconds. Lift out of the mixture and let the excess drip off. Place in the pan. Repeat with the other toast sticks. You should be able to fit about half of the sticks in a 10 or 12 inch pan.
- Once the toast is golden on one side (about 3 minutes), flip and cook the other side for an additional 2 minutes or so. Remove and set aside.
- Heat the second tablespoon of butter and repeat the process until all the toast sticks are cooked.
- Serve with maple syrup for dipping and fresh berries on the side. Enjoy!
I tried the recipe it came out really well. I love the way you have described every little thing. loved it.
Thank you for this recipe. My kid was able to do it from start to finish. He rated it 8 out of 5. Simple and yum!